English
  Spanish
  Portuguese
  Arabic
  Russian
  简体中文
简体中文 

 Location:
 Fiber Optic Splicing Techniques: Step-by-Step Guide for Perfect Joints
 Update Time:2025-08-07
 Traffic:
This article provides a detailed step - by - step guide on fiber optic splicing techniques to achieve perfect joints. It covers essential steps, tools, and tips for successful splicing.
Fiber Optic Splicing Techniques; perfect joints, step - by - step guide
- Introduction
- Preparation
- Stripping the Fiber
- Cleaning the Fiber
- Cleaving the Fiber
- Splicing the Fiber
- Protecting the Splice
- Conclusion
Fiber Optic Splicing Techniques: Step - by - Step Guide for Perfect Joints are crucial in the field of optical communication. These techniques ensure low - loss and reliable connections between optical fibers.
Introduction
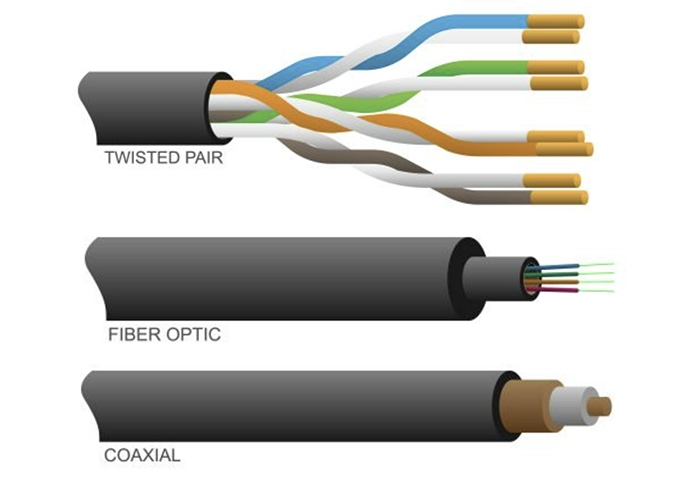
Fiber optic communication has become the backbone of modern telecommunications due to its high - speed and large - capacity data transmission capabilities. Fiber optic splicing is an important process in creating continuous fiber optic links. It involves joining two optical fibers end - to - end to minimize signal loss and ensure stable data transmission.
Preparation
Before starting the splicing process, it is essential to gather the necessary tools. These include a fiber optic stripper, a cleaver, a fusion splicer, and a fiber optic inspection microscope. Also, make sure to have appropriate protective gear such as gloves and safety glasses. Additionally, choose high - quality optical fibers and splice protectors.
Stripping the Fiber
Use a fiber optic stripper to carefully remove the outer coating of the optical fiber. This step should be done gently to avoid damaging the core of the fiber. The length of the stripped portion depends on the type of splicer and the splice protector being used. Usually, a length of 2 - 3 cm is sufficient.
Cleaning the Fiber
After stripping, clean the exposed fiber using a lint - free wipe and a suitable cleaning agent such as isopropyl alcohol. This helps to remove any dirt, oil, or debris that could affect the splicing quality. Wipe the fiber in one direction to prevent re - contamination.
Cleaving the Fiber
Use a fiber optic cleaver to create a precise and smooth end - face on the fiber. A good cleave is essential for minimizing light loss during the splicing process. Follow the manufacturer's instructions carefully when using the cleaver. The cleaved end should be inspected under a microscope to ensure its quality.
Splicing the Fiber
Insert the cleaved fibers into the fusion splicer. The splicer will align the fibers automatically and then fuse them together using an electric arc. The splicing parameters such as arc duration and intensity are set according to the type of fibers being used. After splicing, the splicer will display the estimated loss value. If the loss is too high, the splicing process may need to be repeated. You can refer to the International Telecommunication Union website for more information on fiber optic standards.
Protecting the Splice
Once the splicing is complete, protect the splice using a splice protector. This can be a heat - shrinkable tube or a mechanical splice protector. The heat - shrinkable tube is usually preferred as it provides better protection against environmental factors such as moisture and mechanical stress. Apply heat to the tube to shrink it around the splice.
Conclusion
By following these step - by - step fiber optic splicing techniques, you can achieve perfect joints with low signal loss. Regular practice and proper use of tools are key to successful fiber optic splicing in various applications such as telecommunications, data centers, and sensor networks.
Q1. What are the essential tools for fiber optic splicing?
A: The essential tools include a fiber optic stripper, a cleaver, a fusion splicer, and a fiber optic inspection microscope.
Q2. Why is cleaning the fiber important in splicing?
A: Cleaning removes dirt, oil, and debris that could affect the splicing quality and cause light loss.
Q3. How do you ensure a good cleave of the fiber?
A: Follow the manufacturer's instructions carefully when using the cleaver and inspect the cleaved end under a microscope.
Q4. What should you do if the loss value after splicing is too high?
A: If the loss is too high, the splicing process may need to be repeated.
Q5. What are the types of splice protectors?
A: The types include heat - shrinkable tubes and mechanical splice protectors, with heat - shrinkable tubes being usually preferred.