English
  Spanish
  Portuguese
  Arabic
  Russian
  简体中文
简体中文 


 Location:
 How to connect external audio using an optical cable
 Update Time:2025-10-22
 Traffic:

Looking to connect external audio to your TV? For optimal sound quality, many users opt for an optical cable connection. Our step-by-step guide below will walk you through the setup process.
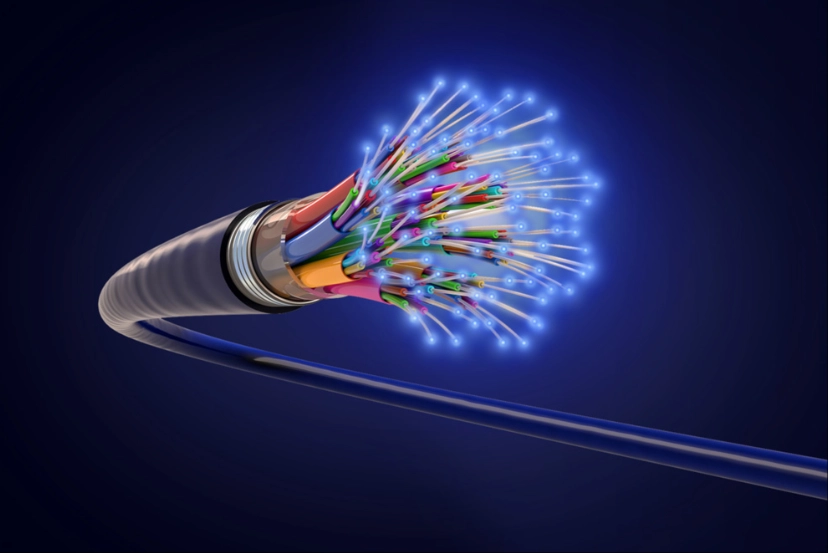
What is an optical cable?
An optical cable serves as a physical pathway for digital audio, transmitting signals encoded as pulses of light. At the receiving end, a photodetector converts these light pulses back into electrical digital signals. This digital signal is then processed by a Digital-to-Analog Converter (DAC), which decodes it into an analog waveform. This analog signal is subsequently amplified to produce audible sound through your speakers.
Optical cables provide two key advantages over traditional metal wiring:
• Superior Signal Integrity: They experience lower transmission loss, which ensures high-quality audio over long distances.
• Exceptional Durability: With no metal to corrode, they are built for a long, maintenance-free operational life.
How to Connect with an optical cable
Step 1.
Insert one end of the digital optical audio cable firmly into the TV's DIGITAL AUDIO OUT port, ensuring it clicks into place.
Step 2.
Insert the other end of the optical cable into the DIGITAL AUDIO IN port on your speaker, ensuring a secure connection.
Step 3.
Press the Home button on your remote, and then navigate to Settings.
Step 4.
Navigate to the Sound menu. Then, select Sound Output.
Step 5.
Select the "Audio Out/Optical" option.